
")


You’re planning a holiday or a party with your family, but you have no idea how to decorate your home. Have you ever tried to custom your house using decorative yard signs? Signs are creative selections for home décor that seems to be currently trendy.
Your signs designing by yourself will light up your place, where your own signature will be imprinted. And it would be delighted if family members work together to make signs and decorate house parties. So, let’s figure out how to make a yard sign and get ready to work.
You may also like: All You Need To Know About Yard Sign Material
Before custom yard signs, you have to prepare some necessary materials. For DIY yard signs you will need:
And it would help if you also had supplies to decorate your signs:
Step 1: Design
You have to decide the shapes and contents of your signs. Depending on the holiday or party’s concepts, it may be quotes, slogans, or shapes of something. You can draw the template designs on paper before shaping. Don’t forget to measure the sizes first. Then cut it out.
Step 2: Decorate
Start to decorate the signs. Use your creative power to make them up with vibrant colors and textures.
– Paint one side of the signs with your favorite base colors. Then let them dry in 1 hour. Then cover them with the second layer. Let them dry. Repeat this step with the other side.
– Sketch them! Draw the details on the board before painting to prevent you from making mistakes when coloring the board.
– Let’s color! Choose your favorite colors to light up your signs. While painting, remember to let the first layer dry before you apply the second one. It may take more time, but it will make the color more visible and not patchy.
Step 3: Complete
Almost done! Now you have to put something on your signs to make them stand.
– Put skewers or poles on the back of the signs. You should measure and mark the points you will attach to ensure that your signs will not skew when erecting or hanging up.
– Secure them with glue and tape. You can even use nails if it’s a wooden board.
Your signs are ready to be decorated!
A Cricut machine is an electric cutting device that is used to cut graphics from various materials such as paper, vinyl, wood, leather, and so on. This tool is quite common with designers.
Step 1: Prepare some tools
– Cricut machine (of course)
– Vinyl decal
– Transfer tape for Cricut
– Polycrylic
– Boards
Step 2: Cut the board in the shapes and sizes you want. Then paint the base colors of the signs. After that, cover them with Polycrylic to help apply vinyl decals easier later.
Step 3: This step requires a few computer skills. You will design images that you want to put on the signs. It may be a slogan, text, or anything else. You can customize fonts or colors on the computer. Then use the Cricut design program to custom all details on the vinyl decal sheet. Let the machine cut them out for you.
Step 4: Keep the details and remove the rest of the vinyl. Then attach the transfer tape to vinyl details. After that, peel the vinyl backing. You will get the details that are completely glued to the transfer tape.
Step 5: Now your details like stickers that you can put all of them on the signs. Make sure that you make the layer of the sign first so that the signs’ elements will not be frustrated when you put them together.
Now, look! Even if you are not good at drawing, you can customize gorgeous signs to make up your house.
If you want to make durable signs and can be reused many times, you should make wooden boards. The process of manufacturing is not different to other types of signs. However, you must pick good wood which is not rotten or mildew.
You’ll also shape the wood before painting and designing the signs. Finally, don’t forget to varnish your wooden boards with waterproof or mildew-resistant paint.
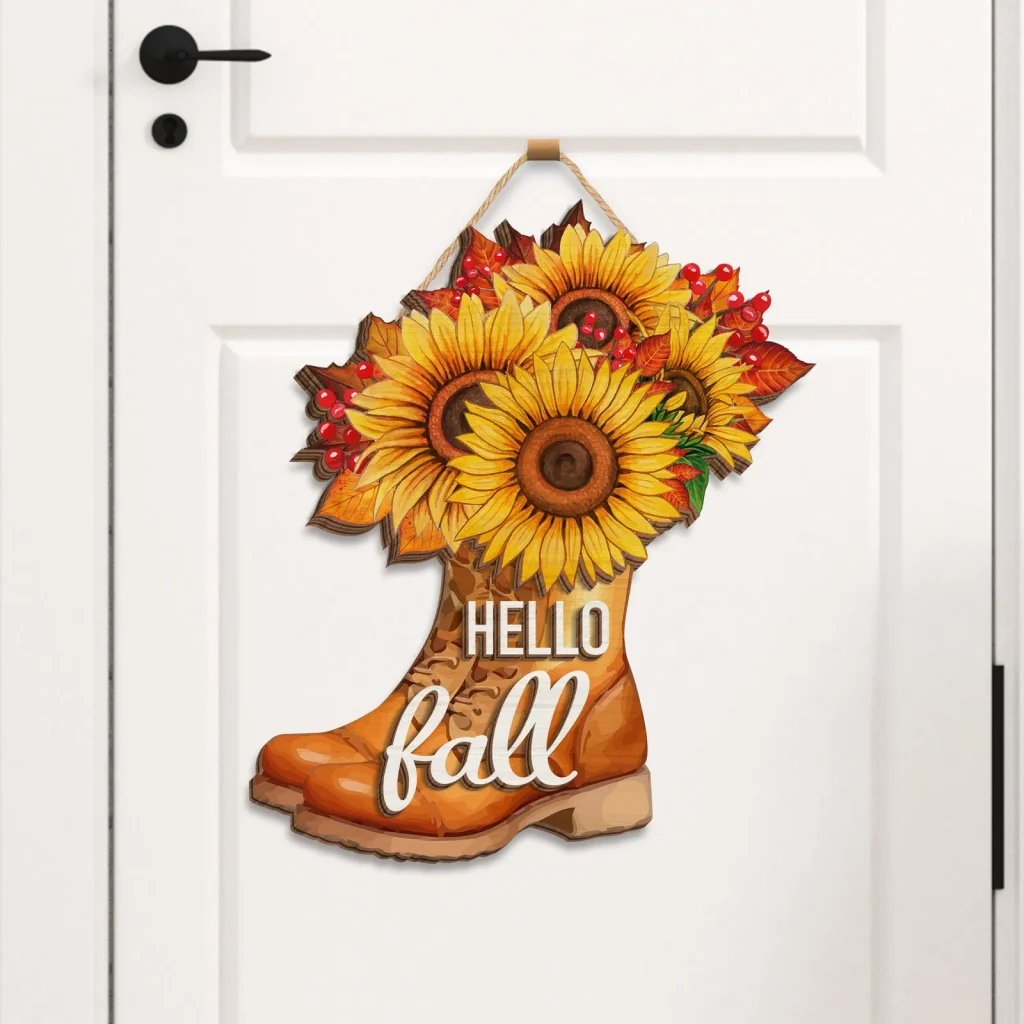
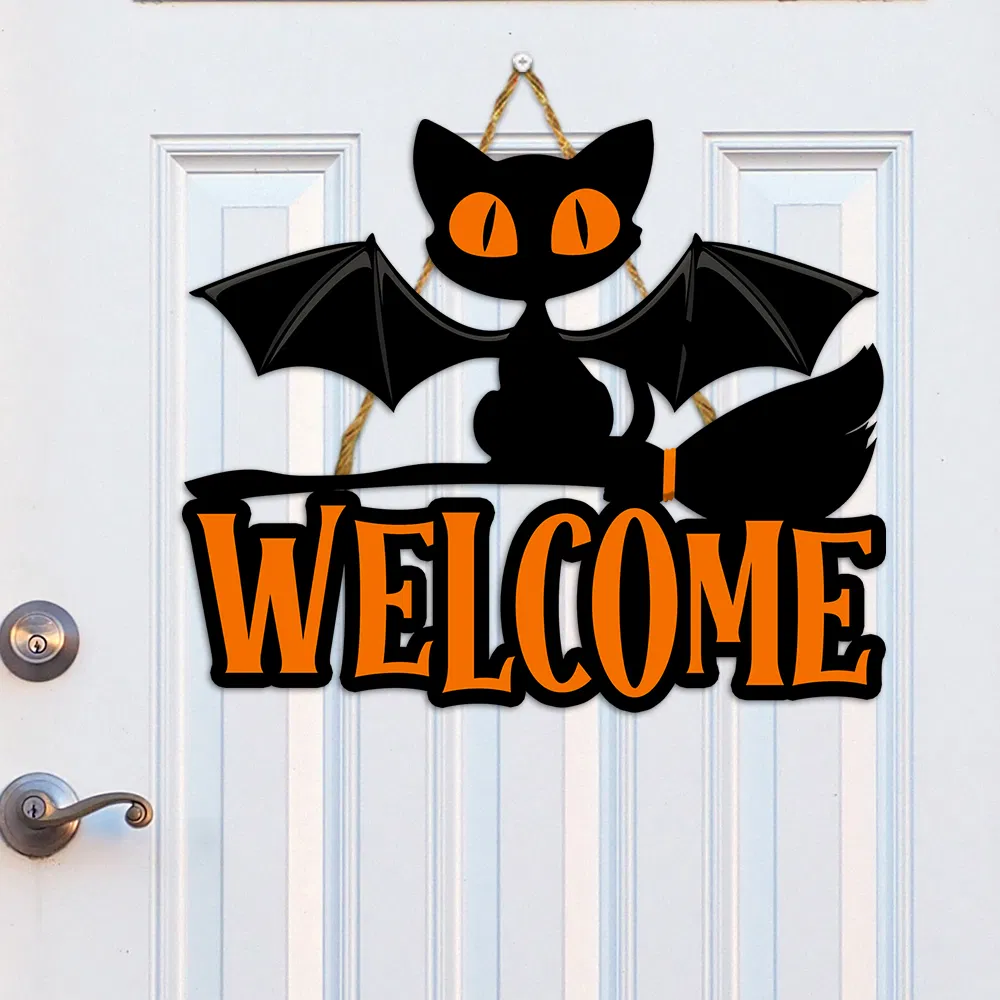
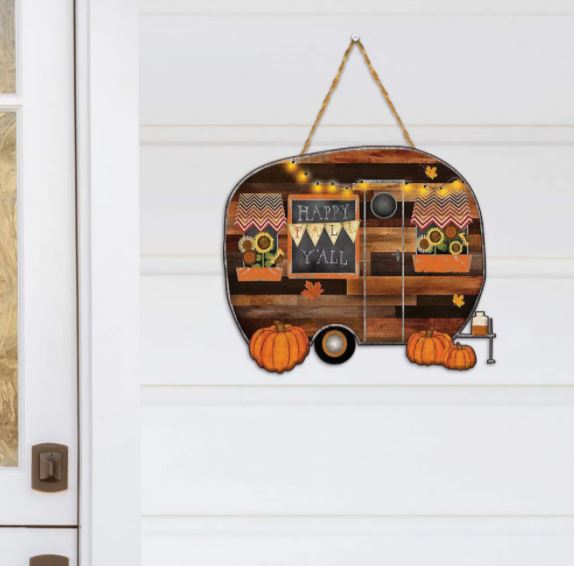
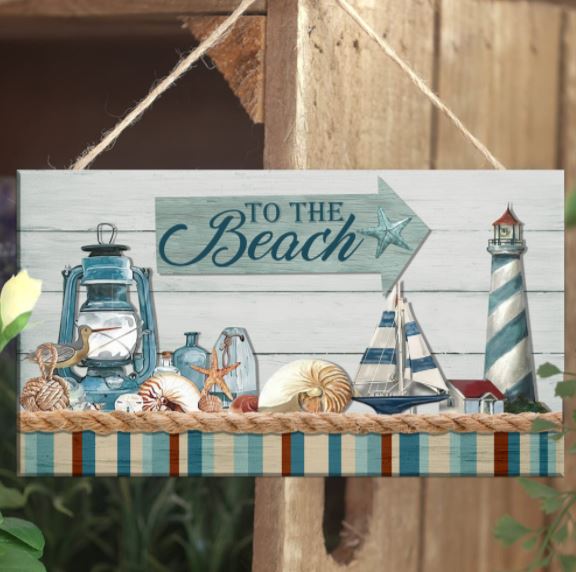
Or visit Flagwix for more interesting items with yard signs, wooden door signs, perfect for holidays
– You can make the signs more attractive and lively with colorful lights. You can add some electric led strings to your signs to light up your home or party. Of course, there are multiple kinds of string lights with various features; you should ask the seller before purchasing them.
– You do not have to use bamboo poles or skewers to hang your sign. If you don’t have them, you can drill holes at the tops of the signs, tie a string, and hang them up.
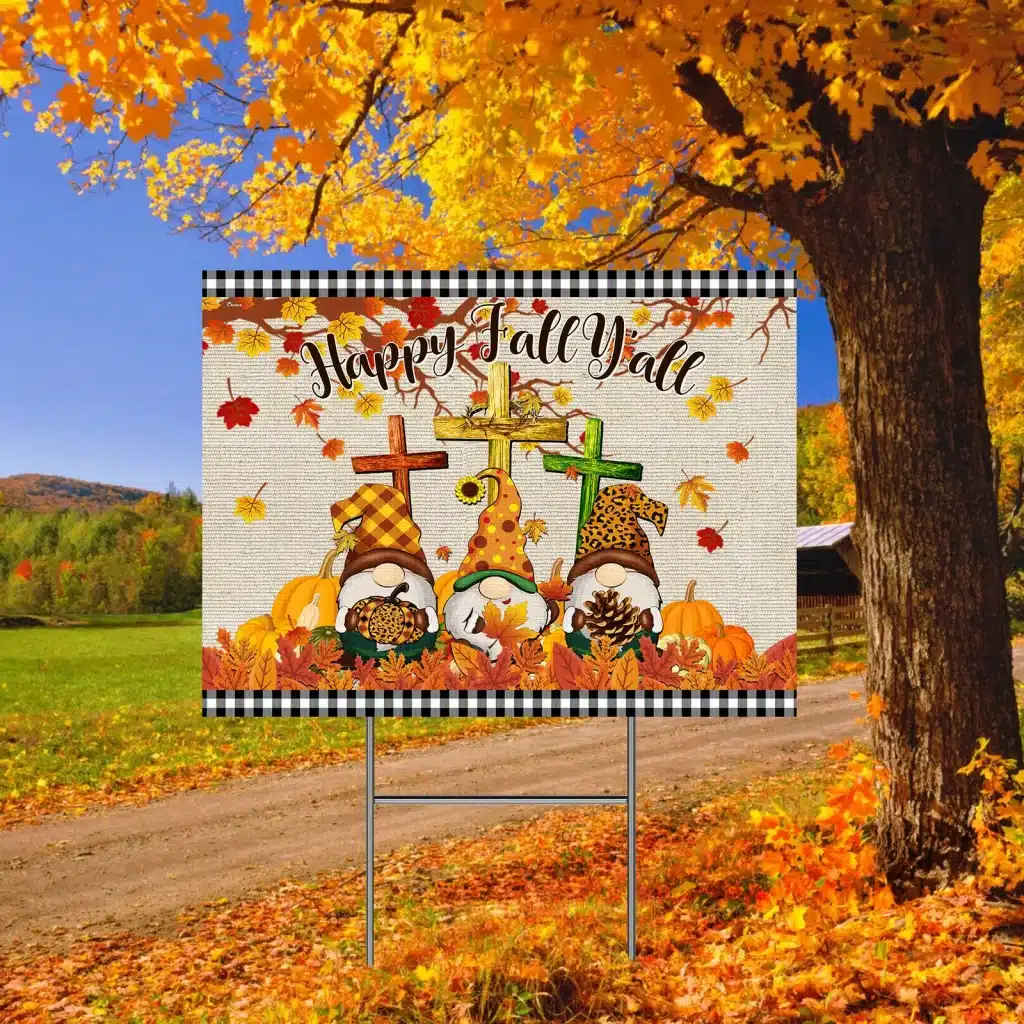
– If you make signs for a house or party decoration, try to customize your text on the signs with creative fonts, such as bubble font or calligraphy font. You can use iconic pictures or textures instead. It makes your decoration more special and eye-catching.
With business signs, you have to know this: because you will place the boards in the yard, customers will read them, even while driving. So make sure that the content on them should be appealing and as few words as possible, but still, ensure the content is enough, for example, Sale Off 50%, New Arrival, Promotion, etc. to make professional signages. Make it simple!
– Pay attention to weather conditions. Of course, the weather will be a challenge when you set the signs outside. Stormy weather will have an impact on sign quality and safety issues. It would be better to hold a party and decorate the signs in the yard on a nice day.
– Some areas will have laws governing the placement of signs, particularly business billboards. Learn more about them so that you can custom business signage that has the appropriate content for the sign.
Signboards are unique and creative decorations. It is straightforward and cheap, so hopefully, this article will help you.
I want to share with you one thing: It doesn’t matter whether the signs you make are beautiful or ugly; the important thing is that you make them yourself, and the family members are connected through decorating the house or party together. Good luck!
With signs, especially garden signs, you need to pay attention to water resistance to keep the signs longer. You can use waterproof materials, or use waterproof paint as the final step after finishing coloring the sign. You can use metal materials to make signs, or paint your wooden signs with waterproof paint, and cover the signs with glossy paint on them.
You need to have wood, paint, and hangers to create your own wooden signs. First, shape your wood by cutting machine, the color your wood signs. Remember to cover your signs with glossy paint. Finally, choose suitable hangers to attach to the back of your signs. And done! You have your unique wooden signs made by yourself.
You can reuse your old supplies to make birthday garden signs. You should prepare old cardboard or wood planks, paint, and other tools. First, shape your signs by knife or cutting machine. Then decorate your signs with colors and textures you want. You should use waterproof paint. Finally, attach hangers or poles on the back of the signs by using glue, tape, or nails. You will get your items to make your birthday party more colorful.