
A garden flag is a fun and appealing addition to your home’s yard for any occasion. It’s even better if your property has a garden with green grass and flowers. This flag type serves as a welcome sign for visitors to your home and highlights the entire front yard. Garden flags are always a good investment in terms of décor. Nonetheless, it is not difficult to do your own project. Save your budget and spark some unique creativity with our easy-to-follow instructions on making a garden flag.
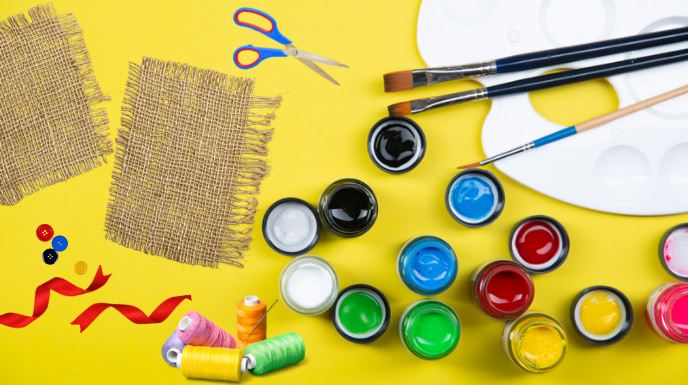
You’ll need:
We cut the fabric into a 13′ x 18′′ banner to perfectly fit a yard flagpole size of 38′′. We can make a nice size without a pattern in another way. Mark the drop cloth with a pencil on the top of the flagpole. This is the required width. Make sure to add at least 3/4 inches to allow for the hem.
Next, decide how vertically long you want the flag to be. The vertical length of the flag is heavily influenced by the height of the flagpole and the location in which it is displayed. You don’t want it to get wet or dirty, so keep it about 10″ shorter than the flagpole’s tall. If you place the flagpole on a pedestal where the leaves appear to be growing, re-measure the flag’s length subtly so that nearby plants do not obscure it.
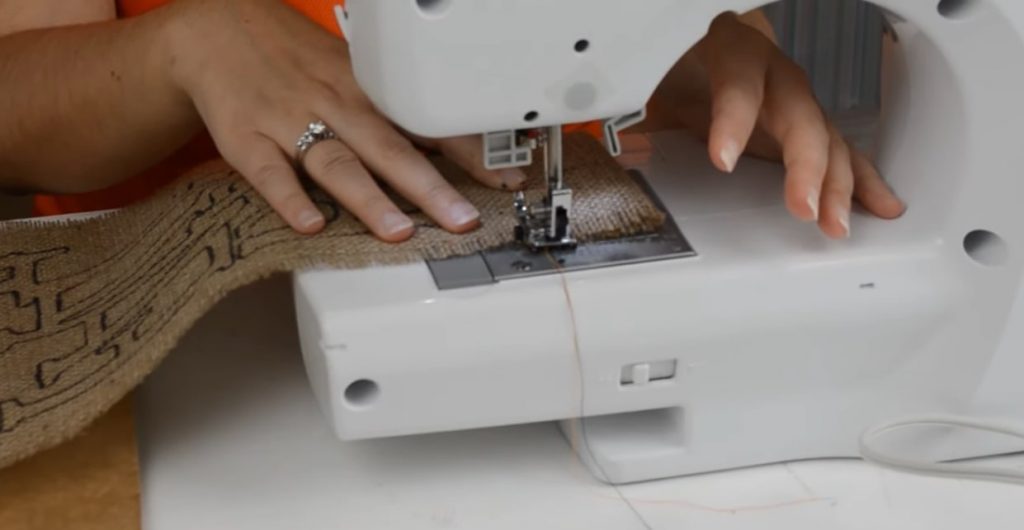
First, sew the flap to hang onto the garden pole when we stick it on it. It’s not a big deal if you don’t have a sewing machine or don’t feel like sewing for whatever reason. Stitch witchery or hot glue can be used.
However, if you use a sewing machine, this process will be much faster and result in a well-done hem. We use a zig-zag stitch when sewing. Remember, whatever your top color thread is, that is what will be visible. Whatever your bottom color thread is, that is what will be seen behind. As a result, it is essential to select a top thread color that corresponds to the flag’s theme.
When sewing, make a couple of stitches and then back stitches to secure your thread. Finally, we’ll do a few more backstitches at the end of the process. As a result, we have a nice pocket hole to secure the banner when we put it on the top bar of the flagpole.
Now that you have done the central part of your flag. The next exciting thing to do is design it in your style and purpose. If you’re making seasonal garden flags, focus primarily on what they will display to make them stand out.
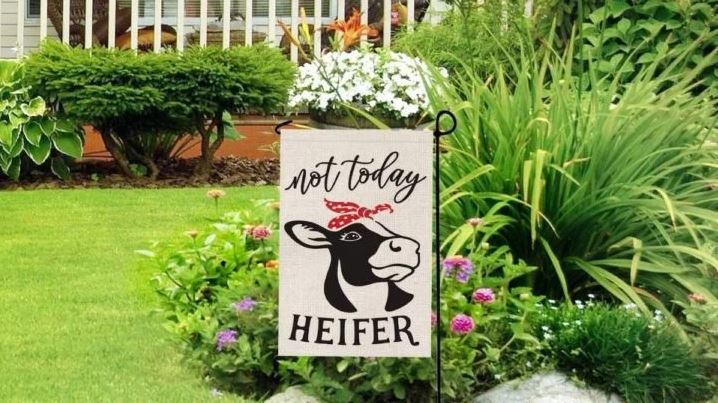
For example, a fall flag would be best with artificial maple leaves and pumpkin images. Add some relevant text with paint or monogram printable letters to make your it more meaningful. Burlap monogram garden flags are fantastic too. They’re popularly used in houses to identify the house host and make a dash of the personality of the family.
A relatively sheltered location is usually the best choice for your flags. Ascertain that the flagpole is firmly erected. Typically, this should be enough to drive the standing prongs deep into the ground, but keep in mind that the wind may catch your flag and attempt to topple it over. Avoid placing the flagpole too close to breakable objects, such as a terracotta planter or a window, in case it tips over in a sudden storm.
Slip your flag’s top hanging flap over the flagpole’s horizontal hanging pole. If your flagpole has a loop end, this should be sufficient to keep the banner in place. Additionally, if the banner doesn’t appear tight enough, pinch the hanging flap in a bit and fix it with a safety pin to make it less likely to fall off.
If your flag is too light, it will easily twist and turn. Consider sewing a metal rod into the lower edge of the banner to provide weight. This helpful way will also prevent your banner from rotating around the pole.
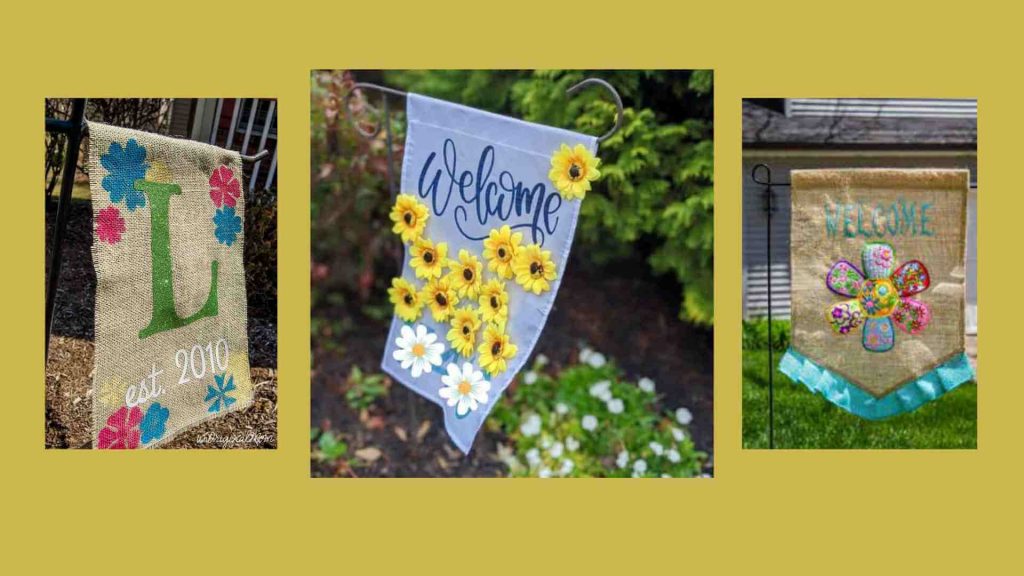
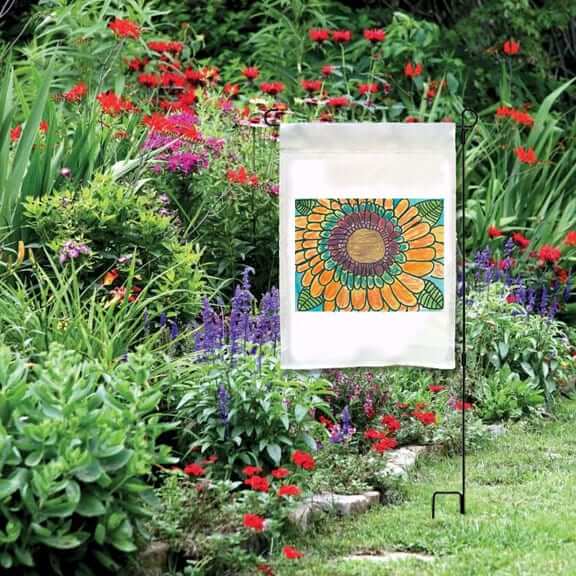
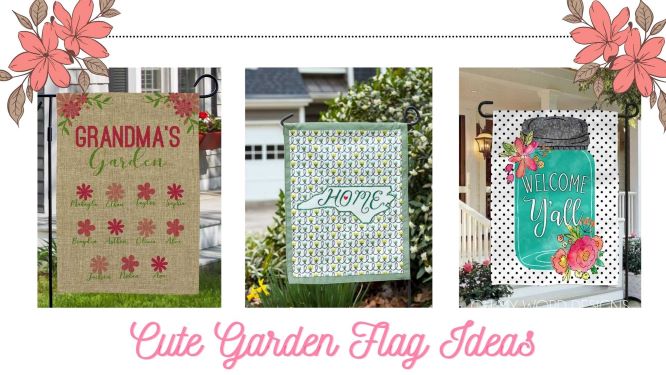
Below are some lovely DIY garden flags created by other artists so that you can pick up a few cute templates for your project. Find a banner with unique textures and patterns if you want to design a giant outdoor banner that stands out. Color is also an important aspect. We always love vibrant colors and a bright background when making a flag project.
Garden flags are usually 11.5″ x 17.5″ (29 x 44cm) in size. They can be installed in the yard using standard garden flag poles and clamps, available at Flagwix. Garden flags come in various choices, and canvas and burlap are the most favorites.
Polyester is the most long-lasting flag material that can withstand inclement weather. It has excellent outdoor longevity, making it ideal for exposure to the elements. Polyester is also highly wind resistant.
To protect your flags from UV, fading, and mildew, use fabric protectant spray. Spray both sides of your flag alternately on a flat tabletop, then let it dry naturally indoors. It’s easy to find this fabric protectant from many e-commerce sites, such as Amazon, Etsy, Home Depot,…
Related Articles: